Want more daily workouts and real time exercise videos? Check out LSF the App! The LSF App has a variety of workouts for beginners as well as workouts that are a little more challenging. Download it now!
Complete each circuit 1x and take breaks as you need them. As you begin to feel stronger, add more reps to your exercises!
CIRCUIT 1

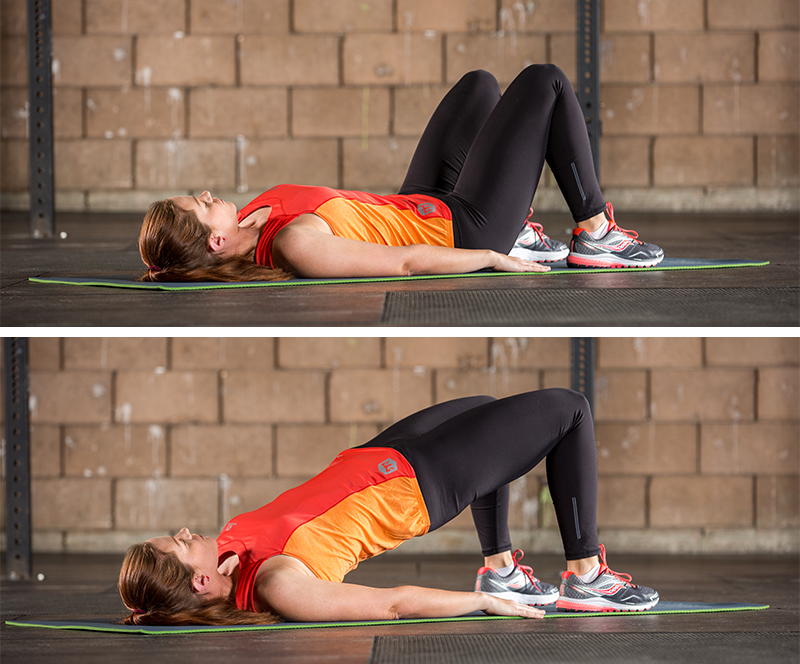
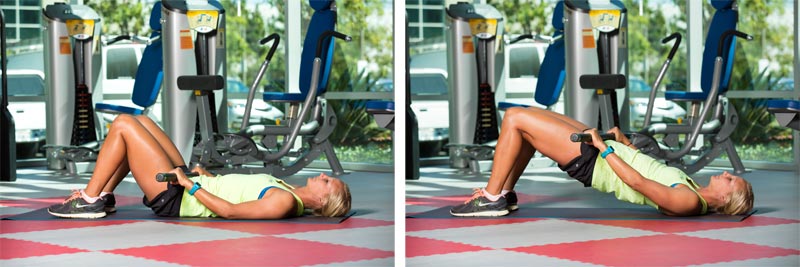
Bridge Hip Lift x12
Targets glutes + hamstrings
· Lie on your back with knees bent and feet hip distance apart
· Press heels into the floor
· Tuck your pelvis and press hips up towards the sky
· Be sure your glutes stayif engaged as you lift up and the lower back down
· Hover an inch or two over the floor as you come down, and then lift up to repeat

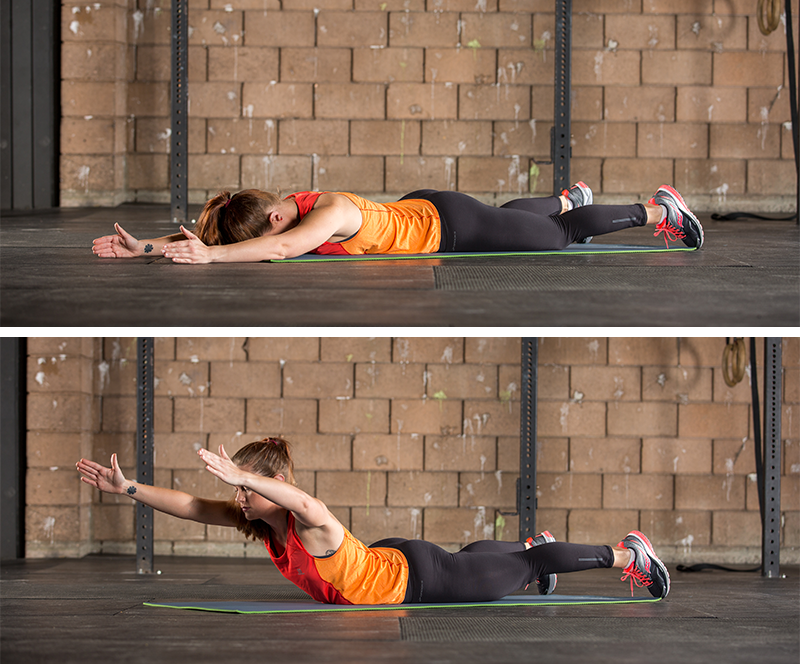
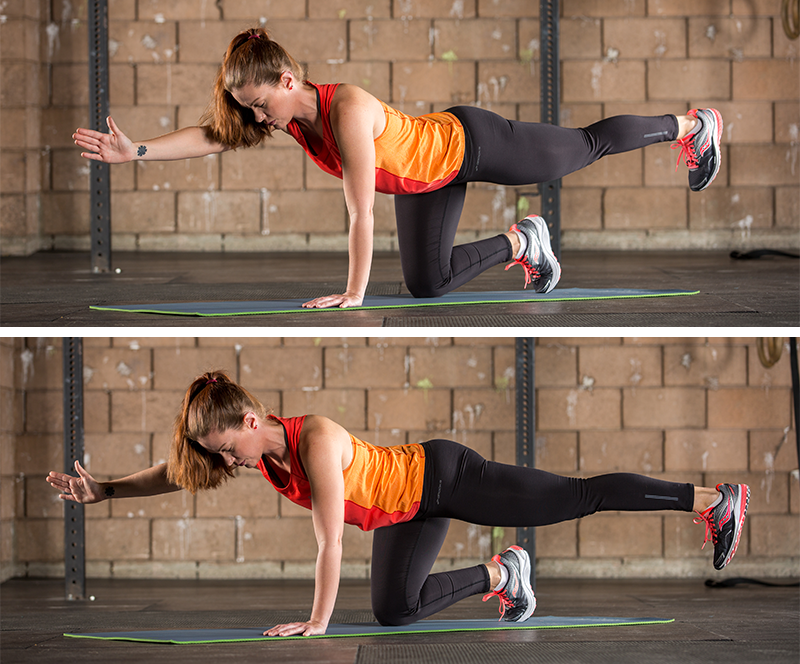
Super Women x8
Strengthens your back and works core
· Start on your stomach with legs long behind you and arms reaching overhead
· On you exhale lift your arms and legs a few inches off the floor and hold
· Drive your elbows back, squeezing your shoulder blades together
· Reach forward again and slowly lower with control.

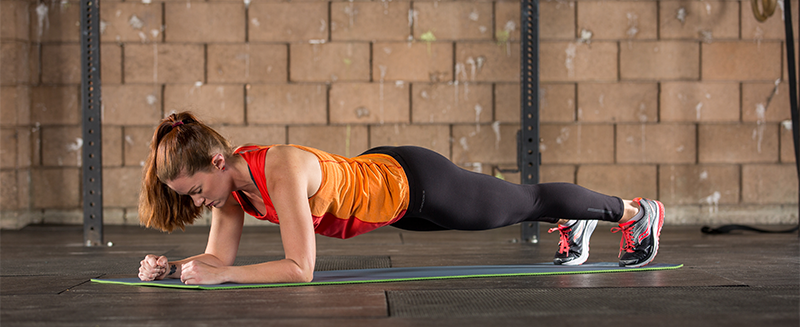
Forearm Plank Double Knee Taps x12
Works entire core and targets lower abdominal muscles
· Start in forearm plank position
· Step back onto your toes, keeping your pelvis tucked and hips low to the ground
· Keeping your core engaged, lower both knees (at the same time!) to hover just one inch above the floor
· Make sure you try not to raise your hips as you lift and lower your knees
· Push through your heels to straight legs and then repeat

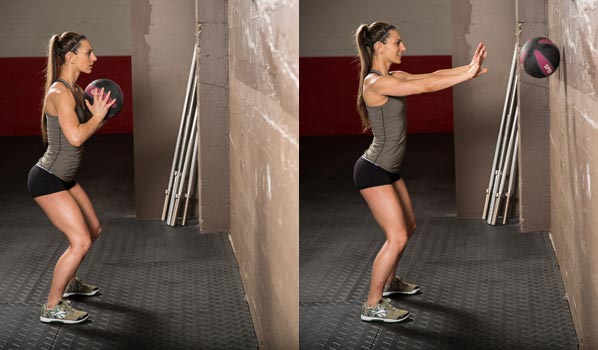
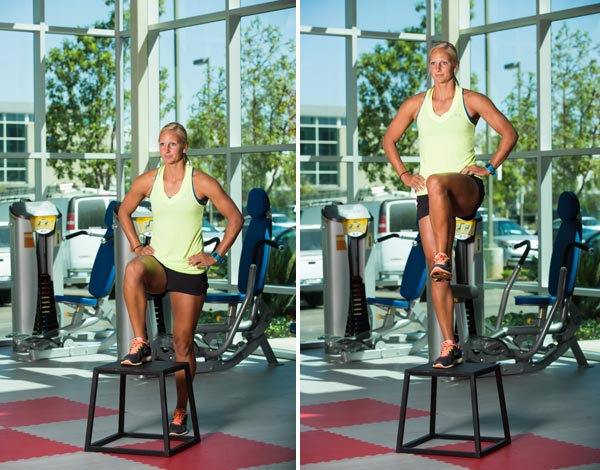
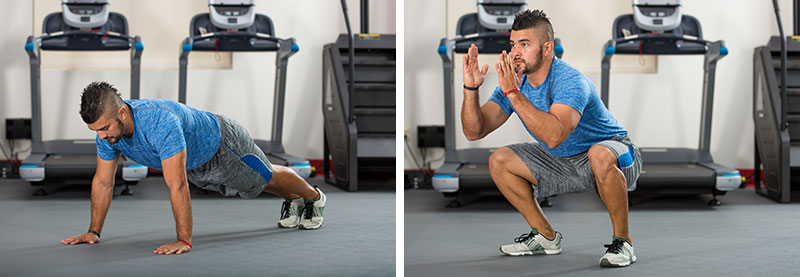
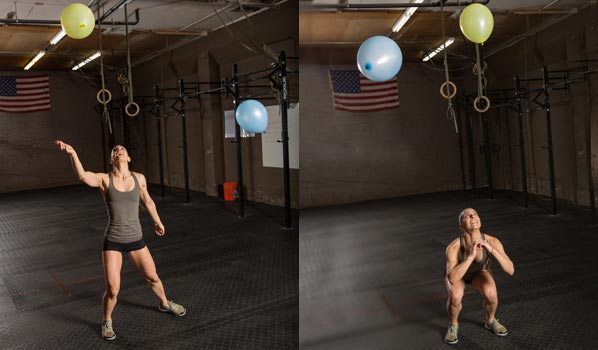
Squat x15
Strengthens lower body (quads, hamstrings, glutes, calves) and also your core. Lower body exercises also help increase calorie burn!
· Stand with feet hip-width apart and toes slightly pointed out
· Bend your knees and squat down as if sitting back in a chair
· As you lower down, raise your arms in front of you and keep your core tight
· After pausing in the squat, return to standing
· Squeeze your glutes at the top and lower your arms, then repeat
CIRCUIT 2

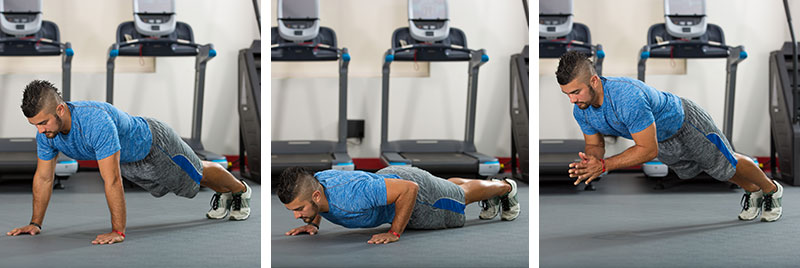
Push-Up on Knees x8
Strengthens your upper body and targets your pectoral muscles, triceps, and shoulders,
· Start in full plank position
· Drop your knees to the floor and hands under shoulders
· Exhale and slowly lower down to the floor, making sure your arms and elbows stay by your sides
· When you have gone as far down as you can go, exhale and press back up
· Repeat lowering and pushing back up

Bent Knee Heel Taps x15
Strengthens your pelvic floor and lower abdominal muscles.
· Lie on your back with knees and hips bent 90 degrees and toes pointed
· Extend your arms out to your sides and press lower back into floor
· Exhale and tap your right heel on the ground
· Inhale and bring your right leg back to start then tap left heel down
· Repeat this movement alternating legs

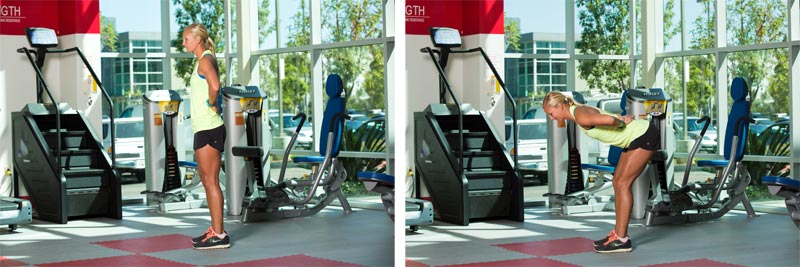
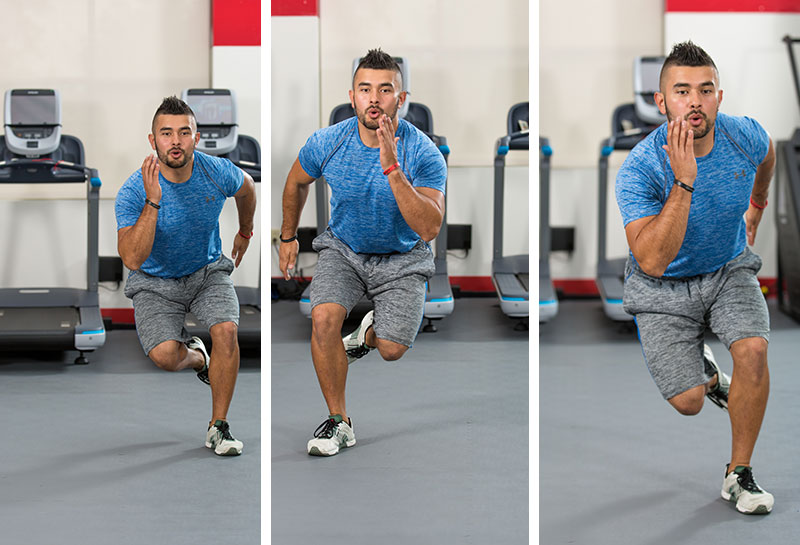
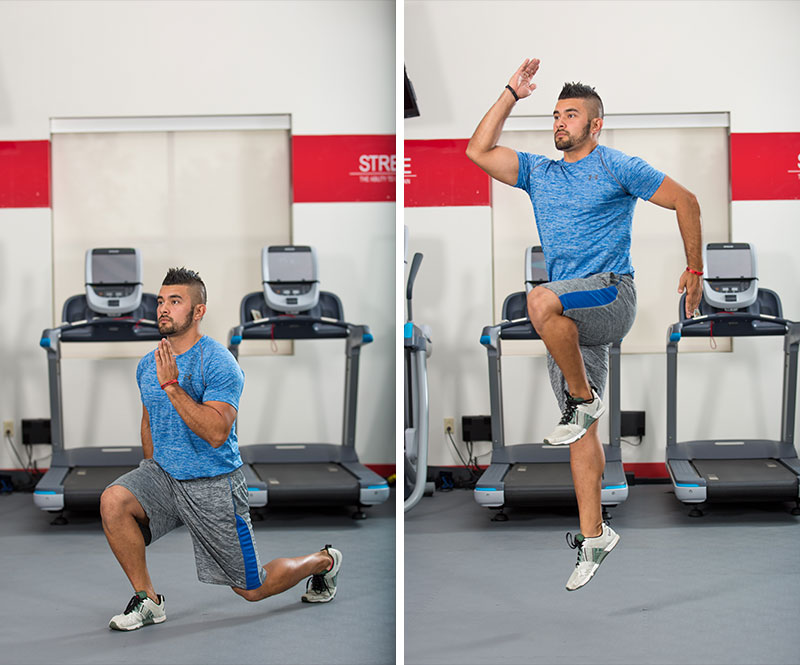
Reverse Lunges x12
Strengthens your core, hamstrings, and glutes. I prefer them because they put less stress on your joints.
· Stand up straight, gaze forward, chest lifted, and core engaged
· Step your right leg back and lower your hips
· Bend your left front leg to a 90-degree angle, keeping your left knee over your left ankle
· Hold in your lunge and then push through your left heel to stand
· Bring your right back leg to meet the front and then repeat

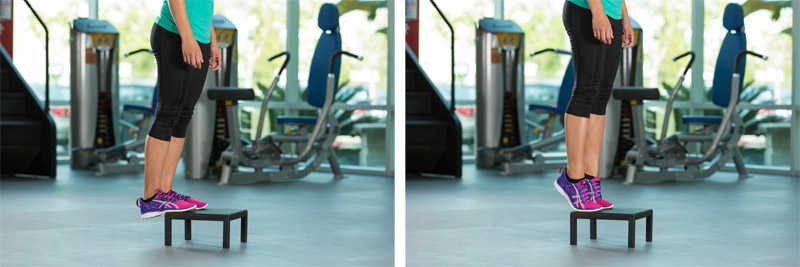
Tricep Dip x6
Strengthens and helps isolate the tricep muscles (think bat wings!)
· Sit on the floor
· Keep your arms straight behind you and raise your hips
· Bend your elbows to lower yourself down to the floor until elbows are at a 90-degree angle
· Press into your palms to straighten arms and come back to starting position
· Repeat movement


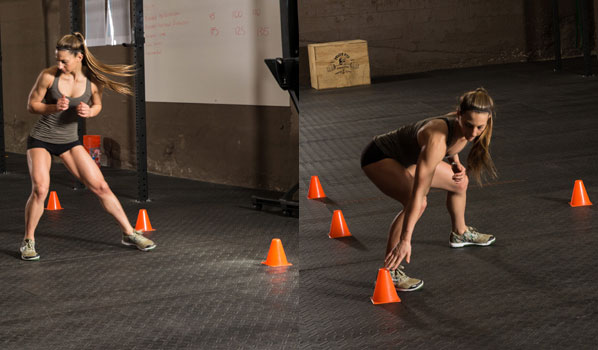
 Set
seven cones up in the pattern shown. Using the letters M, N, I, T, Y,
select an order in which you will create those letters with your pattern
of moving through the cones. Touch each cone that creates the letter as
you move through each pattern at a pace that is appropriate to you.
Depending on your fitness level, you may choose to walk, skip, jog,
sprint or shuffle. After you have completed each letter with your
movement pattern, change the order of the letters and try it again. For
an increased cardiovascular challenge, try facing the same direction as
you create each letter and move the cones farther apart. If you’re
working with a partner and like a little competition, time yourselves
going through the pattern, or trade off turns for each letter.
Set
seven cones up in the pattern shown. Using the letters M, N, I, T, Y,
select an order in which you will create those letters with your pattern
of moving through the cones. Touch each cone that creates the letter as
you move through each pattern at a pace that is appropriate to you.
Depending on your fitness level, you may choose to walk, skip, jog,
sprint or shuffle. After you have completed each letter with your
movement pattern, change the order of the letters and try it again. For
an increased cardiovascular challenge, try facing the same direction as
you create each letter and move the cones farther apart. If you’re
working with a partner and like a little competition, time yourselves
going through the pattern, or trade off turns for each letter.